Cover Crops for Small Home Gardens
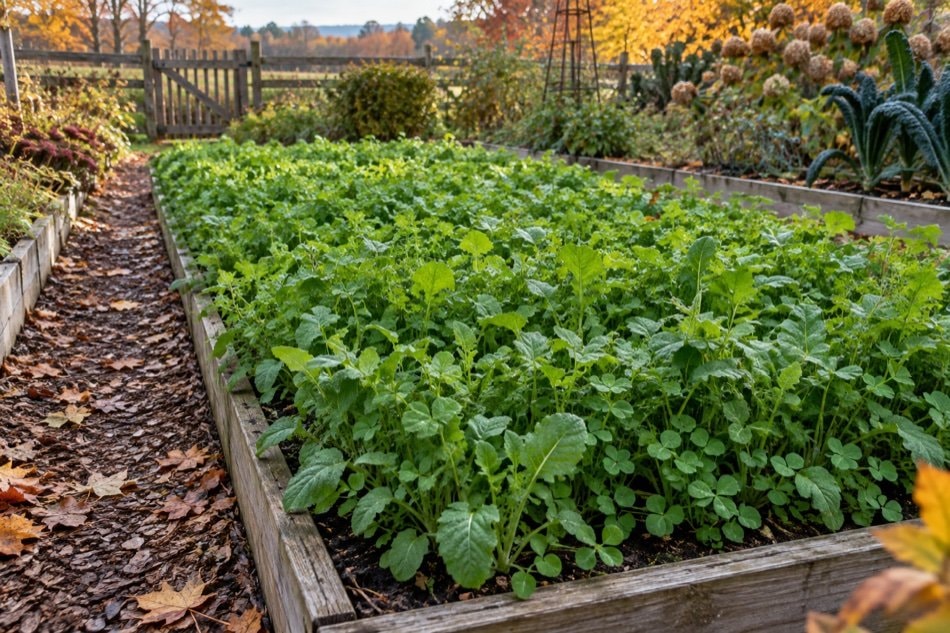
A cover crop is grown mainly to serve the soil rather than the kitchen. In home gardens, the best cover is one that fits the available window and can be ended without delaying the next planting.
Choose a Job Before a Species
Decide what the bed needs most. Dense growth can shield bare soil and compete with cool-season weeds. Deep or fibrous roots can hold soil together and create channels. Legume covers can add biologically fixed nitrogen when they are well established and managed appropriately. Mixed covers combine traits, but they can also mature at different times and be harder to terminate.
Match the cover to temperature, day length, moisture and the number of weeks available. A vigorous crop that cannot establish before cold arrives offers little benefit. One that survives too long may become a spring obstacle. Local growing calendars are more useful than a generic seed-packet promise.
Prepare a Clean, Firm Seedbed
Remove mature weeds and crop residues that carry disease. Loosen only what is needed, rake the surface level and sow at the recommended depth. Small seed needs shallow placement and steady contact with the soil; large seed can be placed deeper. Broadcasting works in open beds, but lightly raking afterward improves contact and reduces loss to wind or birds.
Water gently until establishment if rain is unreliable. The goal is an even stand that covers soil quickly. Thin, patchy cover leaves openings for weeds and may be harder to manage than a uniformly planted bed.
Use Winterkill Strategically
In cold climates, some covers die after hard freezes. Their collapsed stems form surface residue that can be moved aside for early planting. Winterkill reduces the spring termination job, but timing still matters: plants must grow enough in autumn to provide useful cover without setting viable seed.
Hardy covers remain green or resume growth in spring. They protect soil longer and may produce more biomass, but the gardener must end them at the right stage. Reserve hardy choices for beds where spring planting is late enough to allow that work.
Terminate Before the Next Crop
Cut, mow or pull the cover before seed matures. Roots can remain in place while tops become mulch or enter a well-managed compost pile. If incorporating residue, allow time for it to break down before sowing small seeds. Thick, fresh material can make a rough seedbed and temporarily complicate nutrient availability near the surface.
A broad, sharp hoe or manual shears may be enough for a small bed. Larger or tangled growth increases the physical workload, so terminate in sections, keep tools sharp and use the pacing ideas in planning a garden day.
Fit Covers Around Food Crops
Sow a cover after garlic, peas or early potatoes leave the ground, or reserve one bed for a full-season soil-building crop. Some gardeners undersow a low cover beneath tall crops once cultivation ends, though competition for water must be watched. Treat the cover as a real crop with a date, purpose and planned end.
On a crop rotation map, record its plant family too. A legume cover still counts as a legume, and a brassica cover still shares relationships with cabbages and radishes. This detail matters when the rotation is intended to interrupt family-specific problems.
Observe the Soil Afterward
Look for aggregate stability, root channels, moisture and ease of planting rather than expecting instant transformation. Compare covered and uncovered areas after heavy rain. Note weeds that were reduced and any that escaped. Over several seasons, adjust species and dates based on what actually establishes well.
Cover cropping works best beside low-disturbance bed care, compost used according to need and permanent paths that prevent traffic on growing soil. It is one tool in a system, not a substitute for knowing the bed.
A Small, Useful Trial
Sow one open bed and leave a small adjacent strip under the usual mulch. Record sowing date, emergence, winter survival, weed cover and how each area behaves after heavy rain. Decide the termination method now and place it on the calendar. In spring, compare how readily each surface can be prepared for the next crop before judging the cover by appearance alone.
At termination, cut a narrow observation strip before handling the whole bed. Check stem toughness, root hold, surface moisture and how much loose residue the next planting method can tolerate. Try the intended tool and stop if it demands repeated force or leaves an unworkable seedbed. Record the interval between termination and planting, because that timing is part of the method. Next season, adjust the sowing date or species choice from those observations rather than from winter appearance alone.
Plan the Ending First
Before sowing, write down how and when the cover will be terminated. That decision often determines whether the next crop starts on time.