Drip Irrigation: Plan, Install and Check a Garden System
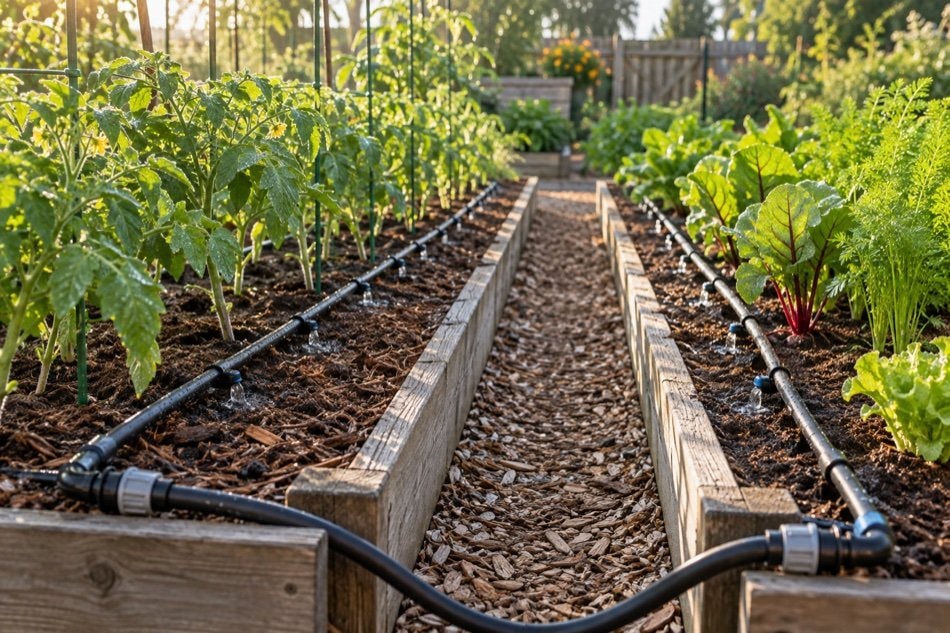
Drip irrigation delivers water slowly near plant roots. A thoughtful layout can reduce hand-watering, but the system still needs observation because a hidden clog or loose connection can leave plants dry.
Divide the Garden Into Zones
Group plants by water need, sun exposure and container size. A sunny vegetable bed should not share an inflexible schedule with established drought-tolerant perennials. Long beds may also need separate zones when pressure or elevation makes delivery uneven.
Sketch the water source, main line, bed lines and shutoff points. Keep connections accessible rather than burying them beneath permanent edging. A clear plan makes spring setup and midseason troubleshooting much faster.
Match Delivery to the Planting
Closely spaced row crops often suit evenly spaced dripline, while individual emitters can serve widely spaced shrubs or containers. Run lines near the active root zone and add parallel lines in wide beds rather than expecting water to travel a long distance sideways through dry soil. Soil texture affects how water spreads: sand tends to drain downward quickly, while finer soil often spreads more laterally.
Secure lines so they stay in position, but leave enough flexibility to move them for cultivation. Covering lines lightly with mulch can reduce heat and evaporation. Do not hide every joint so completely that leaks become impossible to find.
Protect the System at the Source
Use the filtration and pressure control appropriate to the equipment and water supply. Keep backflow protection consistent with local plumbing requirements. These details protect both the drip components and the water system, so follow local guidance when connecting to a household source.
Flush new lines before closing their ends. At the start of each season, open ends again to clear sediment. Filters need routine cleaning, especially where the source carries fine particles.
Schedule by Soil Moisture, Not Minutes Alone
Run the system, wait for water to spread, then check the soil several inches down at more than one location. Record how long it takes to wet the intended root zone without creating runoff or prolonged saturation. That observed run time is more useful than a generic schedule.
Adjust for plant size, rainfall and temperature. Young transplants have small root zones and may need closer attention; established plants can often be watered more deeply and less often. Review garden watering fundamentals for signs that the root zone is too dry or too wet.
Inspect What You Cannot Hear
Walk the lines while they run. Look for geysers at loose fittings, dry emitters, kinked tubing and wet spots that signal a split. Place matching catch containers under several outlets if you suspect uneven delivery, then compare the collected amounts.
Plant symptoms may appear after a blockage has already lasted days. A quick weekly inspection is especially important for containers, where a single failed emitter can affect the whole root ball. Keep a watering can available for repairs and newly planted areas.
Make Seasonal Changes
Move lines as sprawling crops fill their beds and cap branches no longer in use. Before freezing weather, drain and store components according to their needs. Label zone lines during disassembly so spring installation does not become a puzzle.
Drip irrigation works best with mulch, healthy soil structure and a layout that can evolve. If the source is harvested rainfall, read rainwater harvesting to understand pressure, storage and overflow limits. Automation can start a cycle, but only a gardener can confirm that water reached the roots.
A Small, Useful Trial
Run one completed zone and place identical catch containers at the beginning, middle and far end. Compare delivery, then check soil spread at the same depth in all three places after an hour. Correct pressure, kinks or spacing before adding the next zone. Repeat once plants are mature because roots and canopy change the useful schedule.
Place matching shallow containers beneath emitters near the beginning, middle and end of one line, then run the zone for its normal interval. Compare the collected depths and inspect any large difference for a blocked emitter, pressure problem or unsuitable line length. Repeat after cleaning the filter and flushing the line. Pair this delivery check with soil checks beside several plants; even flow from the emitters does not guarantee equal movement through compacted, sandy or sloping soil.
Test the Furthest Outlet
Do not judge the system only beside the faucet. Check delivery at the end of each line and in the highest part of the garden.